August 2022
As a personal project, I designed and 3D printed a riser that would support an Apple Thunderbolt Display and contain a Mac Mini, removing the stress on the body of the Mac Mini from the substantial weight of the display. The entire process was completed by me, including the 3D modeling, print slicing, and the print itself.
In 2011, Apple unveiled their 27 inch Thunderbolt Display. While remarkable, the display sported a weight of approximately 23.5 lbs (10.7 kg). It was designed for use with MacBooks, and as such, was to be placed on a flat desktop surface. However, when using with a Mac mini, I and many others online were worried about excessive weight adding pressure to the top case of the Mac mini if stacked. With limited desk space, I sought out a solution that would relieve this weight from the top of the delicate machine while still allowing me to save desk space, all the while complimenting Apple’s sleek design style.
Initial Prototypes
When first thinking of designs, I came up with a simple two-legged platform for the monitor to sit on. The Mac mini would simply be underneath, flat with the desk. However, I then took heat dissipation, as well as model sturdiness into consideration.
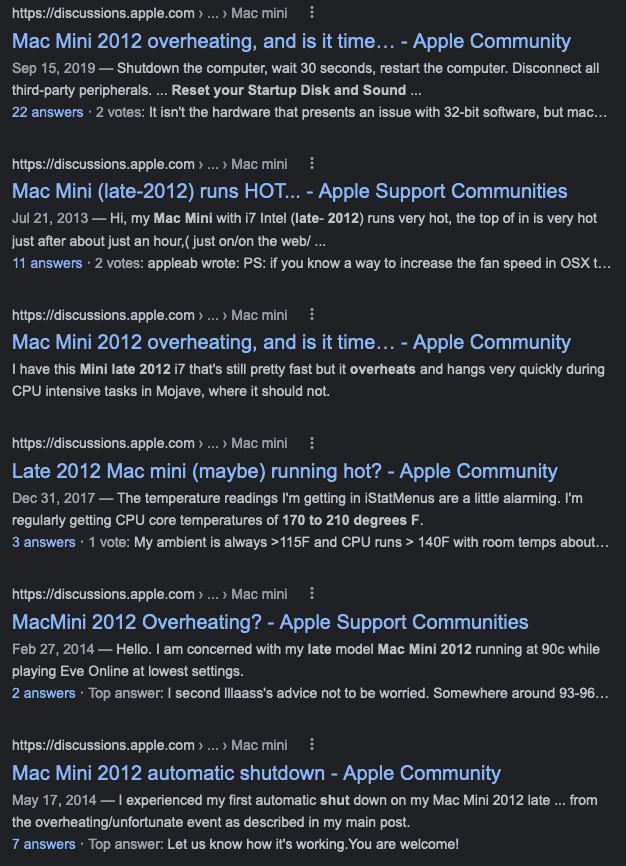
My Mac mini’s model is notorious for overheating, and in some cases shutting down unexpectedly. Over nine pages of Google results from Apple’s discussion boards alone show that there is a valid concern of overheating, and adding a plastic semi-enclosure around it would only exacerbate conditions.
In addition, a riser with just two thin legs supporting the display would be prone to the plastic eventually buckling and snapping, dropping the monitor and potentially damaging it. Therefore, I modified my idea into the current design, adding two horizontal supports. This would both pick the Mac up from the desk, allowing adequate air flow into the bottom fans, as well as add support to the riser, acting like two feet for it.
3D Modeling
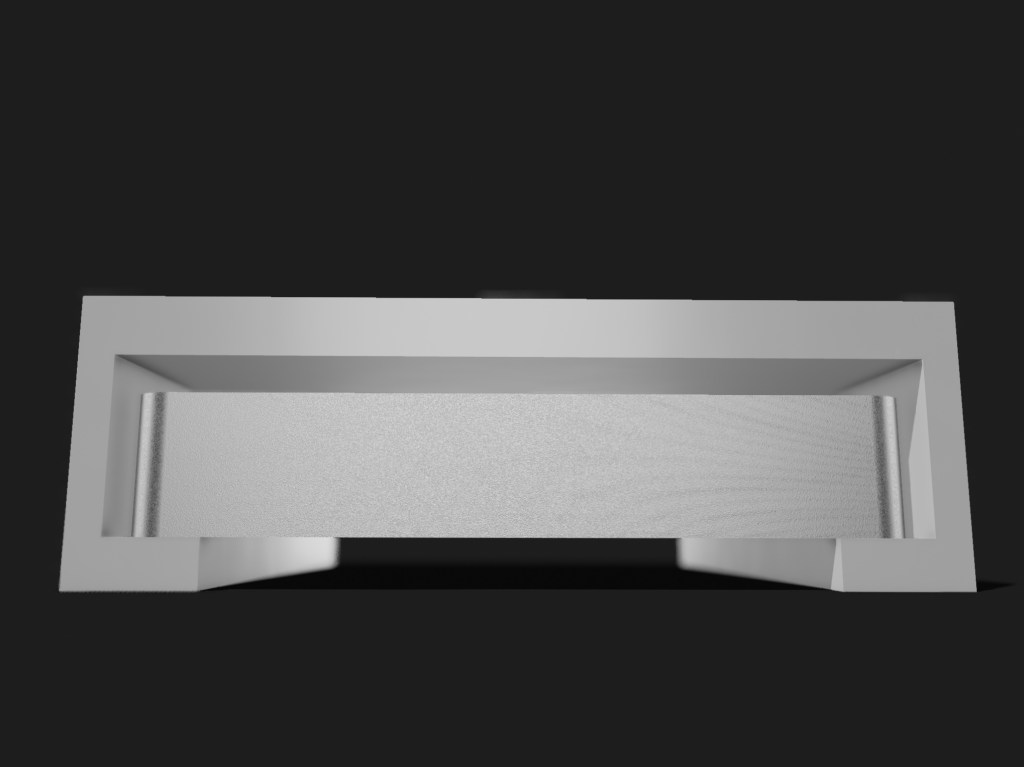
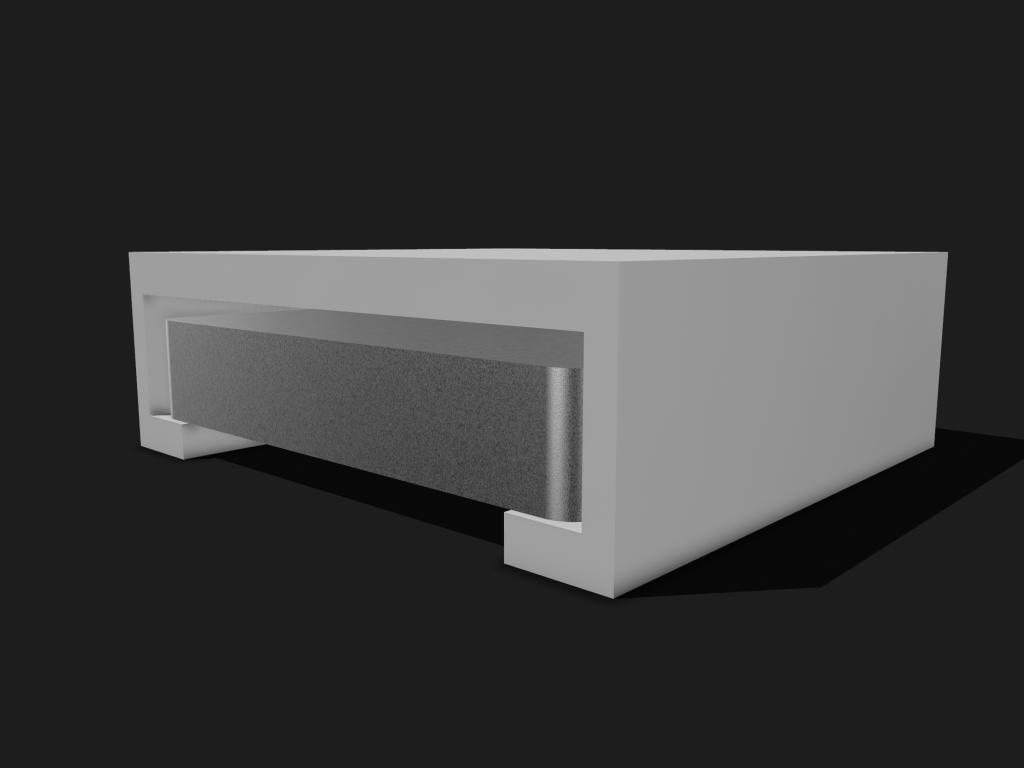
To create my design for 3D printing, I used Shapr3D, a CAD application for the iPad. Here, I deigned a model placeholder with the exact shape and dimensions of my model Mac mini. I then designed my riser around the model Mac, taking into account the size of the base of the display. I also designed the thickness of the top of the platform to be both thick enough for durability, but thin enough to not waste resources. I settled on a platform that was 15 millimeters thick. Below are the CAD renders of the riser, with the model Mac mini, as well as a technical drawing, with measurements.


Slicing and Printing
When deciding on materials, I had to make a decision on the type of material that I would use for it, choosing between the three most common 3D printing filament types on the market: PLA, ABS, and PETG. My main considerations were cost, durability, and heat resistance. A plastic with a low heat resistance would react poorly to the heat produced by the Mac mini, which in my personal experiences, have reached upwards of 100ºC during hardware-intensive processes. I decided on using PETG. ABS performs better under heat stress, with a maximum service temperature (the maximum temperature before the material begins to deform) of 98ºC versus PETG’s 73ºC. However, PETG had a higher bending stress at around 53.7 MPa, versus ABS’ 40 MPa. When deciding, I felt as if being stronger mattered more than withstanding high heat, since the Mac mini will only reach temperatures during intense usage. The display will continuously remain heavy through time.
After exporting my design to a 3mf file, I loaded it into Ultimaker Cura to prepare it for slicing. The riser had to be printed upside down in order to have a flatter top surface, as well as save resources that would otherwise have been needed to support the entire platform during printing. I also decided to go with a 20% cubic infill, adding to the structural integrity throughout the entire riser. The entire print took around 45 hours to print. The print was cut short, however, due to mechanical issues with the 3D printer itself.
Final Results
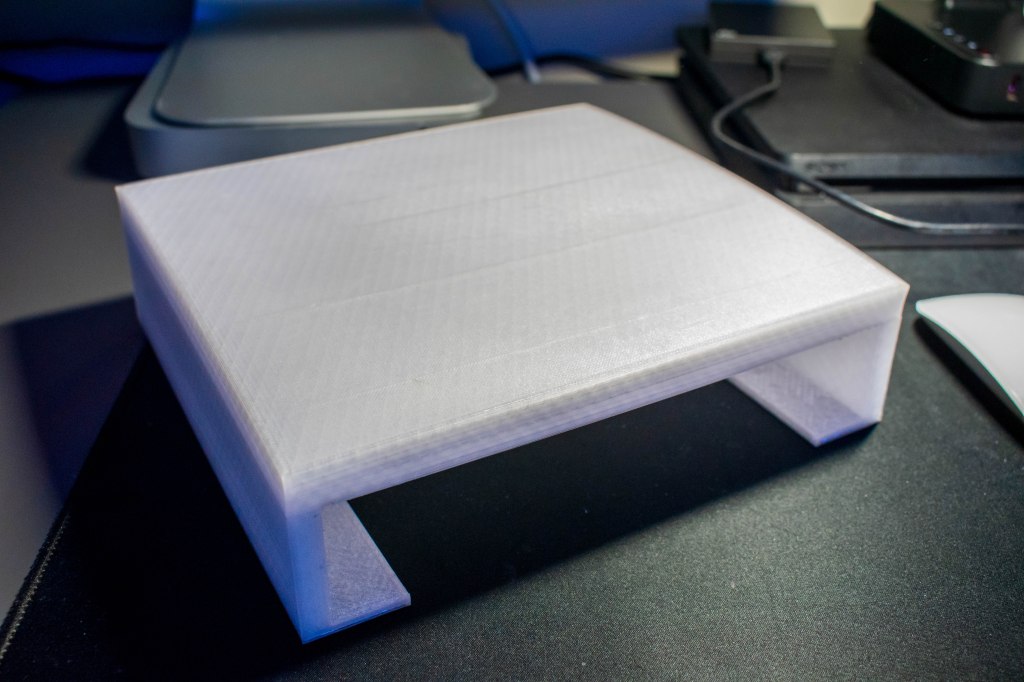
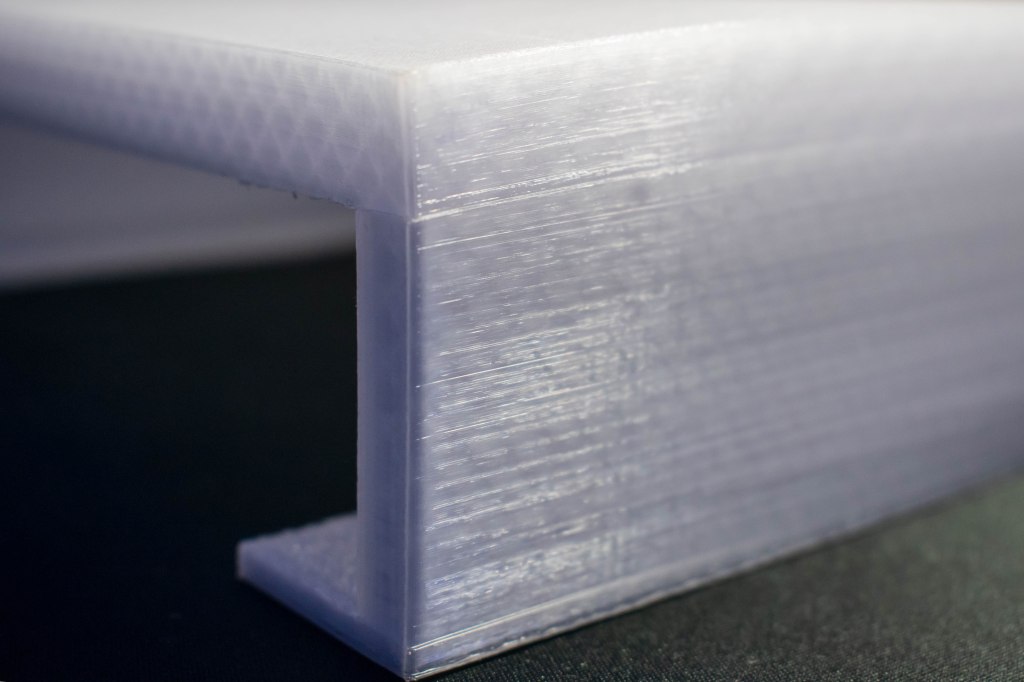
Below are photos of the final results. The filament used was transparent in color, and the cubic infill is visible in direct light.


Source:
“Properties Table.” All-In-One 3D Printing Software, Simplify3D Software, 30 May 2019, https://www.simplify3d.com/support/materials-guide/properties-table/?filas=abs%2Cpla%2Cpetg.
